Last summer, I was staring at a $2,800 quote from a landscaping company to install an irrigation system in my backyard. My lawn was looking like a sad patchwork quilt – green where I remembered to water, brown everywhere else. Sound familiar?
That quote was the wake-up call I needed. I decided to tackle this project myself, and I'm so glad I did. Not only did I save over $2,000, but I also learned a ton about my yard and gained the confidence to handle future home improvements. Let me walk you through exactly how I did it and where you can find the best deals on supplies.
Why DIY Irrigation Makes Financial Sense
Here's the breakdown of what professionals typically charge versus what you'll actually spend:
- Professional installation: $2,500-$4,000 for an average yard
- DIY materials: $400-$800 for the same coverage
- Time investment: 2-3 weekends versus weeks waiting for scheduling
I spent exactly $647 on materials for my 3,200 square foot yard, including some rookie mistake purchases I'll help you avoid. The math was simple – even if I messed up completely and had to start over, I'd still save money.
Planning Your System: The Foundation of Savings
The biggest money-waster I see people make is jumping straight into buying supplies without proper planning. Trust me, I almost made this mistake too. Here's how to plan smart:
Map Your Water Pressure and Flow Rate
Before buying anything, you need to know your water pressure. I bought a simple pressure gauge from Home Depot for $12 (often on sale for under $10). My pressure was 45 PSI, which meant I could run about 6 spray heads per zone. This one measurement saved me from overbuying supplies.
Zone Your Yard Like a Pro
Different areas need different watering schedules. I created four zones:
- Front lawn (sunny, needs more water)
- Backyard play area (high traffic, drought-resistant grass)
- Garden beds (drip irrigation)
- Side yard (partial shade, less water needed)
Pro tip: Take photos of your yard and sketch your zones digitally using free apps like SketchUp or even just your phone's markup tool. This helps when shopping for supplies and prevents buying too much or too little.
Where to Find the Best Deals on Irrigation Supplies
After pricing supplies at six different retailers, here's where I found the best deals:
Sprinkler Warehouse (Online)
This became my go-to source. They offer contractor pricing to DIYers and have excellent technical support. I saved about 30% compared to big box stores on major components like timers and valves. They often run seasonal sales in late fall and early spring.
Home Depot vs. Lowe's
For pipe and fittings, I found Home Depot consistently beat Lowe's by about 15%. However, Lowe's had better deals on tools. I bought my trenching shovel and pipe cutter at Lowe's during a spring sale.
Local Landscape Supply Stores
Don't overlook these! I found 25-foot rolls of drip irrigation tubing for $18 at my local supplier versus $32 at Home Depot. Many will give you contractor discounts if you're buying for a whole-yard project.
End-of-Season Clearance
If you can wait, late August through September offers incredible deals. I picked up extra spray heads for 60% off that I'm saving for future expansions.
Essential Tools You Can Borrow or Buy Cheap
Don't let tool costs inflate your budget. Here's my strategy:
- Trenching shovel: Buy this ($25-35). You'll use it for maintenance.
- Pipe cutter: Buy a good one ($15-20). Clean cuts prevent leaks.
- Trenching machine: Rent for $40/day or borrow from neighbors. I split the rental cost with two neighbors who wanted to watch and learn.
- Compressor: Borrow this for blowing out lines in winter.
I spent $127 on tools total, and I've already used them for three other projects around the house.
Step-by-Step Installation: Where I Saved and Where I Splurged
Starting with the Timer and Main Line
I splurged on a smart timer ($180 instead of $60 for basic). This wasn't just for convenience – it pays for itself through water savings. Mine adjusts automatically for weather and has already prevented overwatering during unexpected rain.
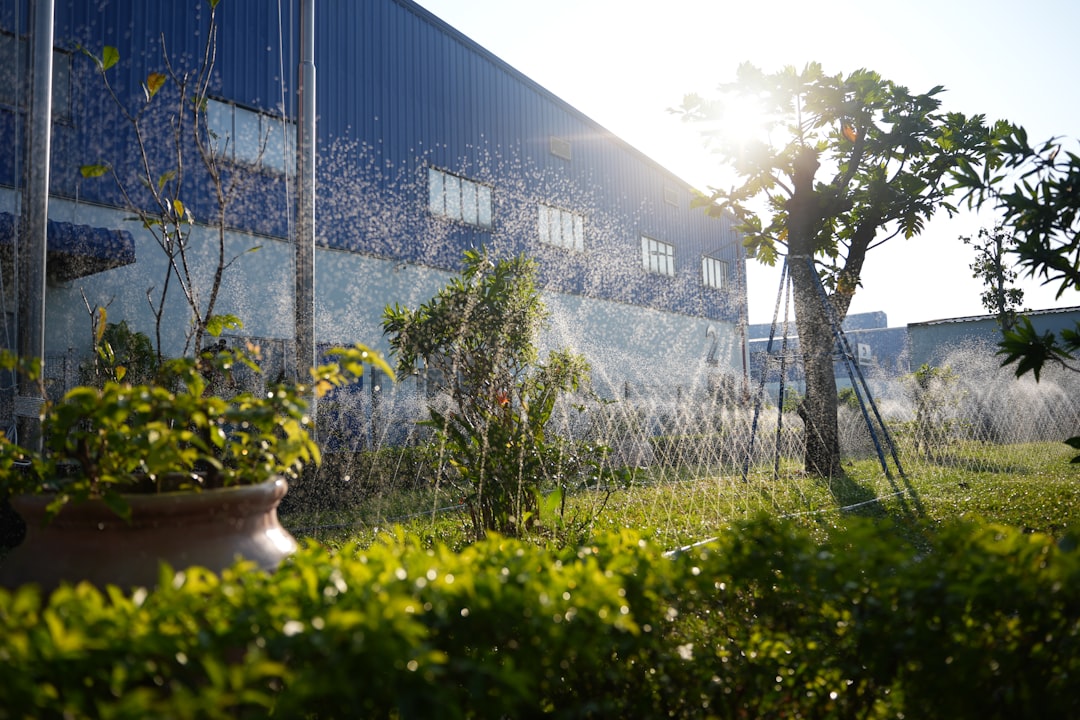
Trenching: The Back-Breaking Truth
This is where that tool rental pays off. Hand-digging 400 feet of trenches would have taken me three weekends. The rented trencher finished it in four hours. At $40 for the rental versus potentially hiring help, this was a no-brainer.
Pipe and Fittings: Buy Quality
I initially tried to save money with cheaper PVC fittings. Bad move. I had two failures in the first month that cost me time and frustration to fix. Stick with name brands for anything underground – the savings on repairs are worth it.
Common Mistakes That Cost Money (And How I Made Them)
Let me save you from my rookie errors:
Mistake #1: Buying the Wrong Pipe Size
I bought 100 feet of 1/2 inch pipe thinking it would save money. Turns out my zones needed 3/4 inch for proper pressure. Cost me an extra $45 and a trip back to the store.
Mistake #2: Skipping the Pressure Regulator
My water pressure was higher than I thought in one zone. Without a pressure regulator, I blew out three spray heads in the first week. A $12 regulator would have prevented $25 in replacement heads.
Mistake #3: Not Buying Spare Parts
Always buy 10% extra of small parts like fittings and spray heads. My first repair needed a $3 fitting, but the minimum order shipping was $15. Now I keep spares on hand.
Timing Your Purchase for Maximum Savings
After tracking prices for a year, here's when to buy:
- February-March: Best time for major components (timers, valves)
- Late August: Clearance on accessories and tools
- Black Friday: Smart timers and tech components
- End of winter: Local suppliers clearing inventory
I saved an additional $180 by buying my major components in March instead of June when I originally planned to start.
Maintenance: Keeping Costs Low Long-Term
Professional systems often come with expensive maintenance contracts. With DIY, you control these costs:
Monthly: Walk the system and check for broken heads (5 minutes)
Seasonally: Adjust spray patterns and timing (15 minutes)
Annually: Replace worn parts and blow out lines ($20-40 in parts)
I've spent $31 total on maintenance in 18 months, compared to the $200 annual service contract the landscaping company wanted.
The Bottom Line on DIY Irrigation Savings
Installing my own irrigation system saved me $2,153 compared to professional installation, and the system works exactly the way I want it. The project took three weekends but gave me skills I'll use for years. Start planning in winter, buy components in early spring, and don't rush the installation. Your wallet (and your lawn) will thank you.