Deal
Deal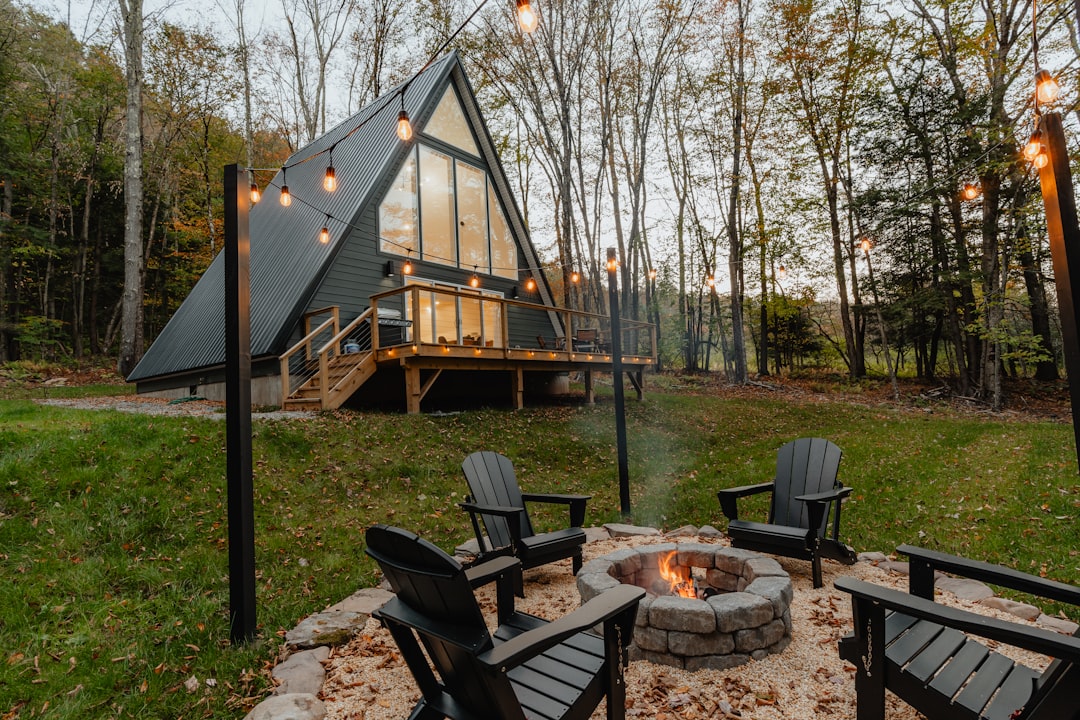
Last spring, I was quoted $850 for a basic fire pit installation in my backyard. The contractor wanted another $300 for "premium" concrete blocks that honestly looked identical to the ones I'd seen tossed in dumpsters at construction sites around my neighborhood. That's when I decided to take matters into my own hands – and ended up building a gorgeous fire pit for just $47.
Here's the thing about fire pits: you're essentially paying someone to stack blocks in a circle and maybe add some gravel. The markup on materials is astronomical, and the labor costs are through the roof for what amounts to a few hours of work. But with some strategic sourcing and a free weekend, you can create something even better than what the pros would build.
The Real Cost Breakdown of Professional vs. DIY Fire Pits
Before I dive into the how-to, let me show you why this project makes financial sense. Professional fire pit installations typically run $600-1200 for basic models, with costs breaking down like this:
- Concrete fire blocks: $8-12 per block (need 20-30 blocks)
- Fire brick liner: $150-200
- Gravel base: $80-120
- Labor: $300-500
- Markup and profit: 40-60%
My DIY version cost me exactly $47:
- Free concrete blocks (sourced from construction sites)
- Fire brick: $32
- Gravel: $15
- Labor: My Saturday afternoon
The savings speak for themselves, but the real win was getting exactly what I wanted without compromising on design.
Finding Free Concrete Blocks: The Legal and Smart Way
This is where most people get nervous, but sourcing free concrete blocks is easier and more legitimate than you might think. I've found consistent sources that are happy to let you haul away their "waste."
Construction Sites (With Permission)
I started by identifying active construction sites in my area – new housing developments are goldmines. I approached site supervisors during lunch breaks and explained what I was looking for. About 70% were happy to let me take blocks that were damaged, slightly chipped, or simply extras they'd ordered.
The key is timing. Visit sites on Friday afternoons when crews are cleaning up for the weekend. Bring your own truck or trailer, and always get verbal permission from the site supervisor.
Landscaping Companies
Local landscaping businesses often remove old retaining walls and hardscaping. I called five companies in my area and three had stacks of removed blocks they were planning to dump. One company even delivered 30 blocks to my house for free because it saved them disposal fees.
Craigslist and Facebook Marketplace
Search for "concrete blocks free" or "retaining wall removal." I set up alerts for these terms and within two weeks had three leads on free materials from homeowners doing renovation projects.
Pro tip: Always inspect free concrete blocks for cracks or significant damage. Small chips are fine for fire pits, but avoid blocks with deep cracks that could worsen with heat exposure.
Building Your Fire Pit: Step-by-Step Guide
Once I had my materials, the actual construction was surprisingly straightforward. Here's exactly how I did it:
Planning and Preparation (Day 1)
I chose a spot 15 feet from my house and any overhanging trees – local fire codes require at least 10 feet, but I wanted extra safety margin. I marked a 4-foot diameter circle using spray paint and a string compass method.
Next came excavation. I dug down 6 inches and removed all grass and roots within the circle. This creates a stable, level foundation that prevents shifting over time.
Foundation Layer
I spread and leveled 4 inches of gravel in the excavated area, then compacted it using a hand tamper I borrowed from my neighbor. This drainage layer prevents frost heaving and provides a stable base for the blocks.
First Ring Installation
Here's where having uniform blocks matters, but don't stress if yours aren't perfect. I dry-fitted the first ring, adjusting spacing to create a 36-inch interior diameter. With standard 8x8x16 blocks, I needed 14 blocks for the first ring with small gaps between each.
The gaps actually improve airflow, which makes for better fires. I used a rubber mallet to level each block, checking with a carpenter's level as I went.
Advanced Techniques for Professional Results
The difference between a basic fire pit and one that looks professionally installed comes down to these details:
Offsetting Joints
For the second and third rings, I offset each block so the joints didn't align with the ring below. This creates much stronger construction and looks more polished. Think of it like laying bricks in a wall – you never want vertical joints lining up.
Fire Brick Interior
This is where I spent most of my $47 budget, but it's crucial for safety and longevity. I lined the interior walls with fire bricks, which can withstand much higher temperatures than regular concrete. Without this liner, concrete blocks can crack or even explode from heat stress.
I found fire bricks at my local home improvement store for $2 each. I needed 16 bricks to create a complete interior liner for my 36-inch pit.
Drainage and Airflow
I left four strategic gaps in my bottom ring at cardinal directions (north, south, east, west). These gaps allow drainage and provide crucial airflow for combustion. Poor airflow leads to smoky fires that are miserable to sit around.
Safety Considerations and Local Regulations
Before you start digging, check your local fire regulations. Most areas allow fire pits, but some have restrictions on size, location, or burn materials. I called my city's non-emergency fire department line and got clear guidelines in five minutes.
Common requirements include:
- Minimum distance from structures (usually 10-15 feet)
- Maximum fire pit diameter (often 4 feet)
- Required spark arrestor screens
- Prohibited burn materials
- Seasonal burn bans
I also installed a spark screen that I made from hardware cloth and steel tubing for an additional $23. While not required in my area, it prevents embers from escaping and provides peace of mind.
Sourcing Additional Materials on a Budget
Beyond the free concrete blocks, I found deals on every other component:
Gravel
Instead of buying bagged gravel at $5 per bag, I bought a half-yard from a local quarry for $15 delivered. This was enough for my fire pit base plus extra for drainage around my house.
Fire Bricks
I comparison-shopped five stores and found the best price at a specialty masonry supplier rather than big box stores. The specialty shop also cut me a deal when I explained my project – ended up getting 20 bricks for the price of 16.
Tools
I borrowed most tools from neighbors: shovel, level, rubber mallet, and wheelbarrow. For the cost of a six-pack of beer, I had everything I needed without buying tools I might only use once.
Always factor in delivery costs when comparing material prices. Sometimes paying slightly more per unit is cheaper when you account for gas and time to haul materials yourself.
Maintenance and Long-Term Savings
Six months later, my DIY fire pit still looks and functions perfectly. The concrete blocks have developed a nice patina from the fires, and I haven't had any structural issues despite some pretty intense winter weather.
Professional fire pits often come with maintenance contracts or repair warranties that cost $100-200 annually. With my DIY version, maintenance consists of occasionally sweeping out ash and checking that blocks haven't shifted – maybe 20 minutes twice per year.
I've also saved money on entertainment. Instead of going out for dinner and drinks, we host fire pit gatherings that cost us maybe $20 in firewood and s'mores supplies but provide the same social experience we'd spend $100+ on at restaurants.
Common Mistakes and How to Avoid Them
Through conversations with neighbors who've attempted similar projects, I've learned about several pitfalls:
Inadequate Foundation
Skipping the gravel base seems like an easy way to save $15, but it leads to uneven settling and wobbly blocks within months. The gravel investment pays for itself by preventing having to rebuild.
Wrong Block Types
Not all concrete blocks are suitable for fire exposure. Avoid blocks with obvious cracks or those that feel unusually light (they might be made with lightweight aggregate that doesn't handle heat well).
Poor Location Planning
Measure twice, dig once. I initially wanted my fire pit closer to my deck for convenience, but checking fire codes saved me from having to relocate the entire project.
The Bottom Line
Building a fire pit with free concrete blocks saved me $803 compared to professional installation, and the result is actually better than what I would have gotten from a contractor. The key is taking time to source quality free materials and not rushing the foundation work. With basic tools and one weekend, you can create a backyard centerpiece that provides years of enjoyment while keeping hundreds of dollars in your pocket. Plus, every time someone compliments your fire pit, you get to tell them you built it yourself – and that satisfaction is priceless.