Deal
Deal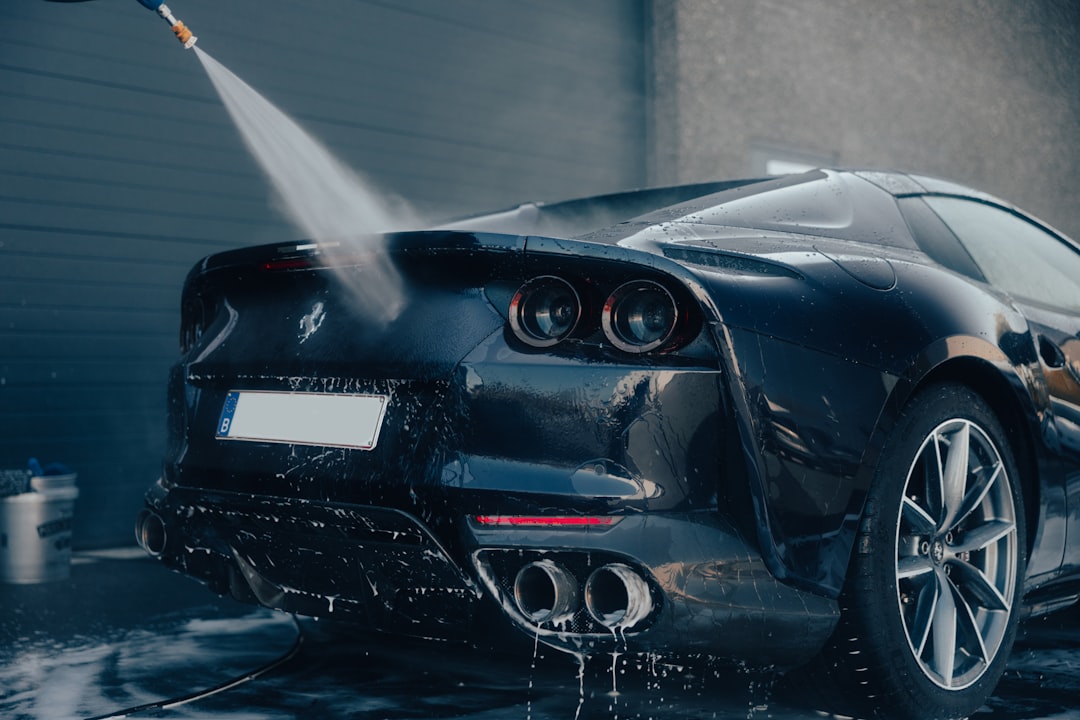
I used to drop $200 every month at the local car detailing shop, thinking it was just the cost of keeping my car looking pristine. That's $2,400 a year – enough for a decent vacation! Then my neighbor Mike showed me his garage setup, and I realized I'd been throwing money away.
Now I spend less than $150 per year on car detailing supplies and get better results than those expensive professional services. Let me show you exactly how I did it, and more importantly, how you can too.
The Real Cost of Professional Detailing
Before we dive into the DIY magic, let's talk numbers. The average professional car detailing service costs:
- Basic wash and wax: $50-80
- Full interior/exterior detail: $150-300
- Premium ceramic coating service: $500-1,200
- Paint correction: $400-800
If you're like I was, getting your car detailed monthly, you're looking at $600-3,600 annually. Even quarterly services add up to $200-1,200 per year. That's serious money that could be going toward your emergency fund or next car purchase.
My DIY Car Detailing Starter Kit (Under $120)
Here's the exact setup that transformed my car care routine. I bought everything during sales and used coupons, but even at regular prices, this kit pays for itself after just one use:
- Pressure washer (Harbor Freight special): $89 on sale
- Microfiber towels (Costco 36-pack): $16
- Two-bucket wash system: $25 at auto parts store
- Foam cannon attachment: $22 on Amazon
- Car soap concentrate: $12 (lasts 6 months)
- Spray wax: $8
- Interior cleaner: $6
- Tire shine: $5
Total startup cost: $183
But here's the kicker – I found most of these items on sale or with coupons, bringing my actual cost to $127. The pressure washer was a Black Friday steal, and I used a 20% off coupon at the auto parts store.
The Game-Changing Two-Hour Routine
Every other Saturday, I spend about two hours giving my car the full treatment. It's actually become my favorite way to start the weekend – there's something therapeutic about the process.
Step 1: The Pre-Rinse (10 minutes)
I start by rinsing the entire car with my pressure washer, paying special attention to the wheel wells and undercarriage. This removes about 70% of the dirt without even touching the paint. Pro tip: rinse from top to bottom – gravity is your friend here.
Step 2: Foam Cannon Magic (15 minutes)
This is where the foam cannon shines. I mix my car soap concentrate (about 2 ounces) with water in the foam cannon and coat the entire car. The thick foam clings to the paint and starts breaking down the remaining dirt. While it sits for 5-10 minutes, I clean the wheels with a separate brush and cleaner.
Step 3: Two-Bucket Wash Method (30 minutes)
One bucket has soapy water, the other is for rinsing your wash mitt. This prevents you from putting dirt back onto the paint. I work from top to bottom, one panel at a time, rinsing my mitt in the rinse bucket after each panel.
The two-bucket method was a revelation for me. Before this, I was essentially grinding dirt into my paint with a single dirty bucket. No wonder my car always looked cloudy after washing!
Step 4: Interior Deep Clean (45 minutes)
While the exterior air-dries, I tackle the interior. I vacuum first, then use my all-purpose cleaner on surfaces. For leather seats, I use a leather conditioner every other month. The key is working in sections and not rushing – patience gives professional results.
Step 5: Wax and Finish (20 minutes)
I use spray wax because it's quick and gives great results. Apply to one panel at a time, then buff with a clean microfiber towel. Finish with tire shine, and you've got a car that looks like it rolled off the showroom floor.
Advanced Money-Saving Techniques
Buy Concentrates, Not Ready-to-Use Products
This tip alone saves me $200+ per year. That $12 bottle of car soap concentrate makes about 30 gallons of wash solution. The ready-to-use version would cost me $8 per wash. Do the math – it's a no-brainer.
Shop Auto Parts Stores During Sales
I stock up during the spring cleaning sales (March-April) and back-to-school promotions (August-September). Auto parts stores often have 30-50% off car care products during these periods. I bought a year's worth of supplies last spring for $89.
The Microfiber Towel Trick
Instead of buying expensive "car-specific" microfiber towels for $5 each, I buy them in bulk from Costco. Same quality, about $0.44 per towel. I designate different colors for different tasks: blue for exterior, yellow for interior, gray for wheels.
When Professional Service Still Makes Sense
I'm not completely anti-professional service. There are times when it's worth the money:
- Paint correction: If your car has serious scratches or oxidation, professionals have tools I don't
- Ceramic coating: The prep work is extensive, and mistakes are expensive
- Time constraints: If you're selling your car next week, sometimes convenience wins
But for regular maintenance? DIY all the way.
The Hidden Benefits I Didn't Expect
Beyond the obvious money savings, DIY detailing has given me unexpected benefits:
- Better car knowledge: I now spot maintenance issues early because I'm intimately familiar with my car
- Higher resale value: Consistent, gentle care means my car looks newer longer
- Quality control: I know every inch gets attention – no rushed jobs or missed spots
- Flexible scheduling: No more waiting weeks for appointments or dropping off my car
Common Mistakes That Cost Money
After a year of DIY detailing, I've made (and learned from) several costly mistakes:
Using Dish Soap
I tried this "hack" once and spent $300 fixing the damage. Dish soap strips protective wax and can damage paint. Stick to car-specific products – they're formulated for automotive finishes.
Washing in Direct Sunlight
Water spots are real, and they're permanent if you're not careful. I always wash in shade or early morning now. This simple change improved my results dramatically.
Skipping the Clay Bar
Every few months, I use a clay bar to remove embedded contaminants that washing can't touch. It's a $15 investment that makes waxing 10x more effective.
Seasonal Money-Saving Strategies
Spring (March-May)
This is when I do my major detail and stock up on supplies during sales. I also apply a good coat of wax to protect against summer UV damage.
Summer (June-August)
Quick washes every week, full detail every three weeks. I focus on interior protection since the heat can crack and fade surfaces.
Fall (September-November)
Preparation for winter is key. Extra attention to the undercarriage and a protective wax coating before the salt starts flying.
Winter (December-February)
Monthly undercarriage rinses to prevent salt corrosion, and interior maintenance since I'm spending more time inside the car.
Your Action Plan: Start Small, Save Big
You don't need to buy everything at once. Start with the basic wash kit ($50), master the technique, then gradually add tools. Even washing your car twice monthly at home instead of paying for professional service will save you $1,200-1,800 per year. That's money that can go toward your next car, vacation, or emergency fund. The best part? You'll get better results than most professional services because you care about your car more than they do.