I used to be that person who drove straight to the tire shop every time my mechanic mentioned tire rotation. Twenty-five bucks here, thirty-five bucks there – it seemed harmless enough. But when I calculated that I was spending nearly $300 per year just on tire rotations across my two vehicles, I had my wake-up call.
Here's the thing: tire rotation is probably the easiest car maintenance task you can learn, yet most people pay someone else to do it. After teaching myself this simple skill three years ago, I've saved over $900 and counting. More importantly, my tires are lasting 40% longer than they used to.
Why Tire Rotation Actually Matters (And Why Shops Love Charging For It)
Let me start with a story that'll probably sound familiar. Last year, my neighbor Sarah was quoted $1,200 for a new set of tires after only 35,000 miles. The kicker? She'd never rotated them once. Her front tires were completely bald while the rears still had decent tread.
Here's what happens when you don't rotate: your front tires do most of the work – steering, braking, and (in front-wheel-drive cars) accelerating. They wear out much faster than your rear tires. Without rotation, you'll need to replace tires in pairs instead of all at once, and you'll replace them more frequently.
The math is pretty compelling:
- Average tire rotation cost: $25-50 per visit
- Recommended frequency: Every 5,000-7,500 miles
- Annual cost for most drivers: $100-200 per vehicle
- DIY cost after initial tool investment: $0
- Time investment: 30-45 minutes
But here's the real savings: proper tire rotation can extend tire life by 20,000-30,000 miles. On a $800 set of tires, that's potentially $300-400 saved per set.
The Tools You Actually Need (And What You Don't)
When I first researched this, I was overwhelmed by all the "essential" tools various websites recommended. After three years of regular rotations, here's what you actually need:
Essential tools (one-time investment of about $150):
- Floor jack ($50-80) – skip the scissor jack that came with your car
- Jack stands, set of 4 ($40-60) – non-negotiable for safety
- Lug wrench or impact wrench ($20-100)
- Wheel chocks ($15-25)
Nice-to-have tools:
- Torque wrench ($30-50) – important for proper lug nut tightening
- Creeper ($40-80) – makes the job more comfortable
- Work gloves ($10-15)
I'll be honest – I initially balked at spending $150 on tools. But I broke even after just six rotations, and now everything is pure savings.
Pro tip: Harbor Freight often has 20-25% off coupons for their Pittsburgh or Daytona jack and jack stand sets. I got my entire setup for under $120 during a sale weekend.
Understanding Rotation Patterns: It's Not One-Size-Fits-All
This is where a lot of DIY guides get confusing, but it's actually pretty straightforward once you understand the basics. The rotation pattern depends on your tire type and drive system.
For non-directional tires (most common):
- Front-wheel drive: Move front tires straight back, cross rear tires to front
- Rear-wheel drive: Move rear tires straight forward, cross front tires to rear
- All-wheel drive: Cross pattern – each tire moves diagonally
For directional tires (they have an arrow showing rotation direction):
- Front and rear tires swap positions on the same side only
- Left front ↔ left rear, right front ↔ right rear
I learned this the hard way when I rotated my wife's directional tires the wrong way and wondered why the car felt weird at highway speeds. Always check your tire sidewalls for directional arrows before starting.
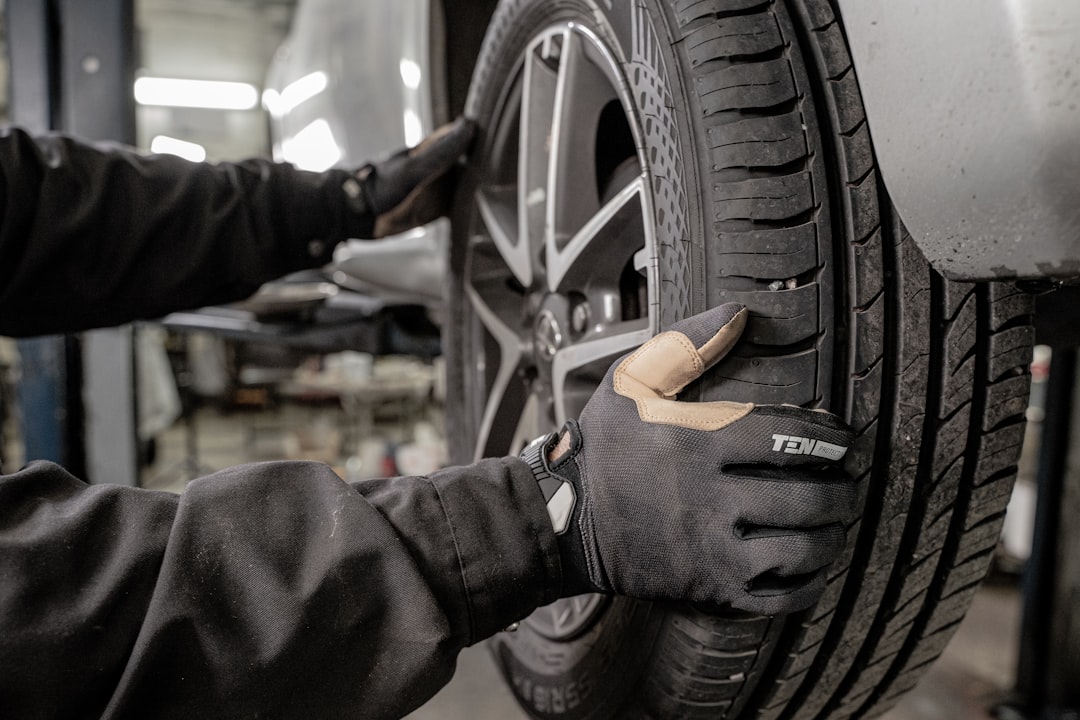
Step-by-Step: How I Rotate Tires in Under 45 Minutes
I've refined this process over dozens of rotations, and now I can knock it out during halftime of a football game. Here's my exact routine:
Preparation (5 minutes):
- Park on level ground, engage parking brake
- Place wheel chocks behind tires that will stay on the ground
- Loosen lug nuts while tires are still on the ground (don't remove completely)
- Locate proper jack points using your owner's manual
The rotation (30 minutes):
- Jack up one corner and secure with jack stand
- Remove tire completely and set aside
- Repeat for all four corners (yes, I lift the whole car)
- Move tires to new positions according to your rotation pattern
- Hand-tighten lug nuts in a star pattern
Finishing up (10 minutes):
- Lower car completely
- Final-tighten lug nuts with torque wrench (usually 80-100 ft-lbs)
- Check tire pressures and adjust as needed
- Record mileage and date for next rotation
The key insight I learned: lifting the whole car at once is actually faster and easier than doing one tire at a time. You're not constantly jacking and lowering, and you can see exactly where each tire needs to go.
Safety First: The Non-Negotiables
I'm going to get serious for a minute because I've seen some scary DIY attempts. A few months ago, my brother-in-law was rotating tires using only a jack – no stands. I made him stop immediately.
Here are the safety rules I never break:
- Always use jack stands – never work under a car supported only by a jack
- Never rush the process – tired mechanics make dangerous mistakes
- Double-check lug nut tightness – I've seen wheels come off due to improper tightening
- Confirm rotation pattern – putting directional tires on backwards creates handling issues
If you're not comfortable with any part of this process, pay for professional service. The money saved isn't worth risking injury or vehicle damage.
When NOT to DIY Your Tire Rotation
Despite being a huge advocate for DIY tire rotation, there are definitely times when I head to the shop instead:
- Different sized front and rear tires – common on sports cars, can't be rotated
- Severely uneven wear patterns – might indicate alignment issues that need professional diagnosis
- TPMS sensor problems – some cars need sensor reprogramming after rotation
- Physical limitations – this job requires lifting, kneeling, and moderate physical effort
I also pay for rotation when it's bundled with oil changes at a competitive price. My quick-lube place charges $15 for rotation with an oil change versus $35 standalone – sometimes the convenience is worth it.
Tracking Your Savings and Tire Health
Here's something most people skip that I've found incredibly valuable: keeping a simple tire log. I use a notes app on my phone to track:
- Rotation dates and mileage
- Tire pressure readings
- Visual wear observations
- Money saved versus shop prices
This log helped me catch an alignment problem early (one tire was wearing faster despite regular rotation) and has been satisfying motivation – I'm currently at $1,150 saved over four years.
Advanced Tips That Make a Real Difference
After rotating tires on multiple vehicles for years, here are some pro-level insights:
Timing matters: I do rotations with oil changes to remember the schedule, but I check tire pressure monthly regardless.
Seasonal strategy: In areas with winter tires, rotation timing aligns perfectly with seasonal swaps. I rotate my all-seasons before storing them each winter.
Buying considerations: Now that I rotate regularly, I buy higher-quality tires knowing I'll get full value from their tread life. The cost per mile is actually lower.
Inspection opportunity: Every rotation is a chance to check brake pads, suspension components, and other wear items. I've caught several issues early this way.
The Bottom Line on DIY Tire Rotation
Learning to rotate your own tires is one of the best automotive investments you can make. With a one-time tool investment of $150, you'll save $200-300 annually while extending tire life by thousands of miles. The 45-minute time investment pays dividends for years, and you'll gain confidence for other car maintenance tasks. Start with your current vehicle, master the process, and enjoy the savings that add up faster than you'd expect.